Posted on 5 Comments

Traherne – step by step

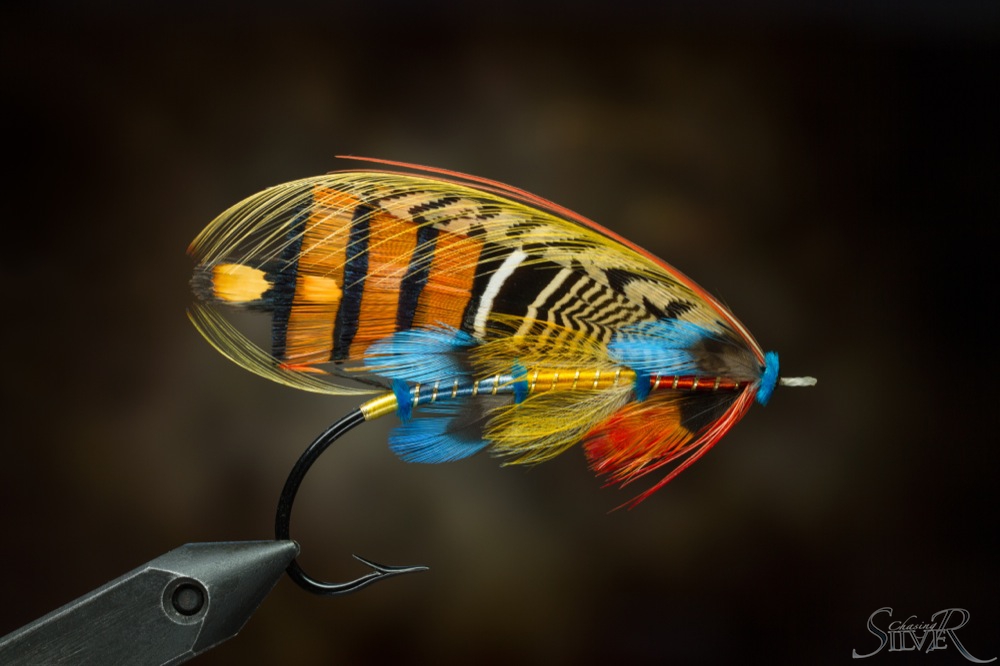
Related to my article “Major Traherne – Top of the Classics” published in issue 3/2014 here’s a thorough step-by step guide with advanced tying tips and tricks. In the following fifty images I tie one of Traherne’s patterns Nepenthian. All feedback and discussion welcome using the comment box at the end of the article.


Take a short piece of gut, moisten it to make it softer and fold it around a stiletto to form the eye.  Tie it in underneath the hook shank and add a layer of varnish to secure it.
Take a short piece of gut, moisten it to make it softer and fold it around a stiletto to form the eye. Tie it in underneath the hook shank and add a layer of varnish to secure it.
Start building an underbody with 210 denier UNI-Nylon or similar flat thread.
Build a taper by going back and forth with touching turns of thread. First turn in the middle of the shank. Second 3/4 of the shank.
Last turn all the way at the back close to the point of the barb.
Burnish the underbody with a smooth object and attach your tying thread to the front and bring it back to about the point of the hook with touching turns.
Attach tinsel for the tip of the tag underneath the hook shank just slightly to the opposite side of the hook so that when you turn your first wrap it will start straight at the center.
Wrap 3 to 5 tight turns of tinsel from back to front and tie the tinsel in so that the last wrap doesn’t overlap the tag-end. Turn the excess adjacent to the shank and wrap forward to the point where you want your tail to be.
Attach a piece of floss underneath the shank. Burnish the underbody again and the tinsel tip too to make it smoother.
Wrap the floss carefully to the tinsel and back again and tie it in underneath the hook shank with couple of turns.
Strip off excess fibers from the topping and flatten the stem from the tie in point with pliers. Tie it in straight on top of the shank.
Do the same with an Indian Crow feather and try to tie it in flat straight on top of the topping.
Tie in a butt from blue Ostrich herl.
Tie the rib in underneath and again slightly on the opposite side of the hook. You can measure and mark the different body section with a marker, just make sure to measure space for the butts too.
Wrap forward again in touching turns and attach the floss for the first body section.
Make the rib with 5 turns of tinsel and try to keep the angle of the tinsel consistent.
Tie in a pair of Blue Chatterer feathers for the body veiling. Flatten the stems again to make the feathers easier to align.
Repeat on the other side of the hook.
Add another butt and rib as before.
Wrap the second body part and rib. To minimise the bulk of the tinsel at the tie in point you can tie it in with a couple of wraps and before cutting unravel the metal from the core which allows you to cut closer and make a smoother transition.
Tie in veilings of Toucan as before. You can play with the position where you tie them due to the shape of the rachis some feathers are easier to tie on the sides to achieve similar results instead of straight under the shank.
On the top it’s best to leave a gap between the ceilings for the wing to sit in.
When tying Ostrich herl for the butt make sure that when you start winding it the small barbules face backwards.

Image 23.

To minimise the bulk on the head you can reverse the tying of the last floss part.
Try to keep thread wraps minimal from this point forward as there is a lot of materials to tie on a tiny piece of hook.
The narrowing taper in front makes ribbing a bit harder but again try to keep the angle the same all the way.
Pay attention to proportions throughout the tying process.
Tie in three pairs of Indian Crow underneath the hook shank.
Because of the thick rachis on even the smaller Macaw feathers you can split the feather before tying.
Start the hackle from the top so that you’ll get more wraps on the sides and brow the hook.
Wrap the hackle in touching turns.
You can strip the fibers from the top to not get in the way of the wing. Moisten the hackle and draw it down.
Tie in the underwing straight on top to the shank.
Pick feathers that are just the correct length and form perfect pairs.
Flatten every feather with pliers before tying to achieve smaller and more secure tie in point.
View from above of the first pairs. Make sure the wing is symmetrical and straight.
Keep adding feathers in pairs to form the rest of the wing.
Pay close attention to the angle where every feather starts as it will define the shape of the wing.
Tie a narrow strip of Golden Pheasant tail over the wing.
Measure and shape the topping before tying it in. As with other feathers flatten the tie in point and fold it so that the topping doesn’t compress the wing but hugs it closely.
Check the fly from above and make sure the topping is straight on top.
Add Blue Chatterer feather cheeks.
Tie in horns and shape them with your fingernail to follow the shape of the wing and topping.
I like to tie the horns as close to the topping as possible and check that the angle is symmetrical from the top too.
Wax you thread well and make the surface of the head as flat as possible without adding too much bulk. If the head tapers too much it will be very hard to wrap the hero over it.
Wrap the hero from front to back so that the barbules naturally face forwards.
Fasten the herl to the base of the wing and make a finish the fly to the same point. Moisten the herl head and turn the barbules back over the thread wraps. Carefully cut the excess with a razor blade or sharp scissors.
When the herl has dried a bit brush it to separate the barbules. Carefully add couple layers of varnish to the front of the head to finish the fly. you can also use a marker to color the head black or use black varnish in one of the layers.
View from above of the finished fly.
Finished Nepenthian.


Posted on Leave a comment

Classic salmon fly show case

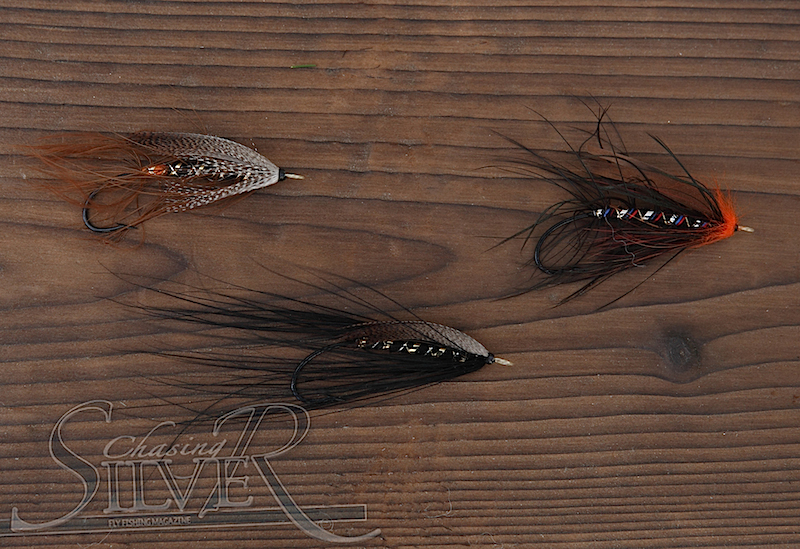
Here are some photos of a collection of classic Salmon flies tied by Mr. Toni Kakkuri. Toni is an internationally recognised Finnish fly tier. Unfortunate he doesn’t compete anymore, but he still ties flies for his living.

Back in the days of attending fly tying competitions Toni won a gold medal in the World Championships, two gold medals and three bronze medals in Finnish Championships, and from Irish Open he gained two golds, four silvers and two bronze medals. As an icing in the cake he belongs to the FQSA fly tiers Hall of Fame. In addition to being successful competitor Toni has been judging in the FQSA World Championships of fly tying – the single European ever nominated for a judge position. His web page is at www.kakkuri.fi. Have a look (and use Google translator to encrypt Finnish J).

Enjoy the beauty of the Classic Salmon Flies!


[fbls]